A few day’s ago the System Center team posted a blog on the Windows Server blog post about the upcoming 2019 release this month.
For the 2019 release there was not alot of new features but i wanted to highlight one, the new Azure Monitor overview page. It’s an integration between the DPM server wich is connected to Azure Backup and Azure Log Analytics.
Let’s have a look at how we can configure this once 2019 is out
- First we need an Azure Recovery Services vault. And your DPM server connected to this Azure Recovery Services Vault.
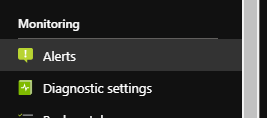
- Go to vault and click on Diagnostic Settings under the Monitoring Section
- Click on Turn on Diagnostics Settings, and create a Diagnostic configuration. Selct Send to Log Analytics, select the relevant log analytics workspace or you could create a new, then select the relevant log, AzureBackupReport and then click save.
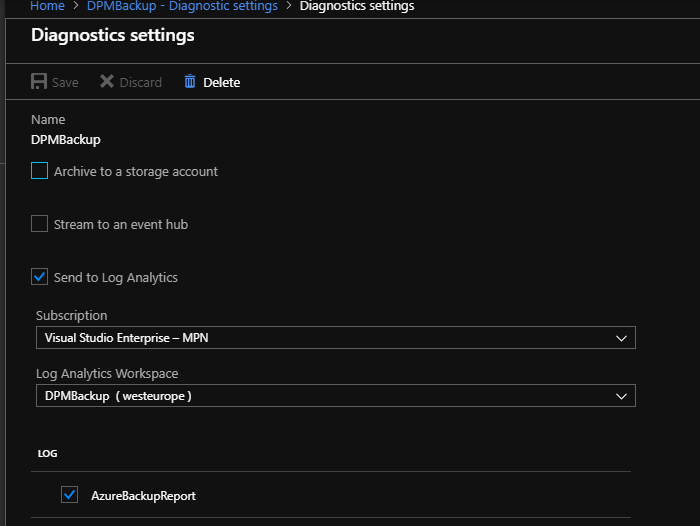
- This report needs min 24 hours for initial data sync to push to the Recovery Vault from the DPM server.
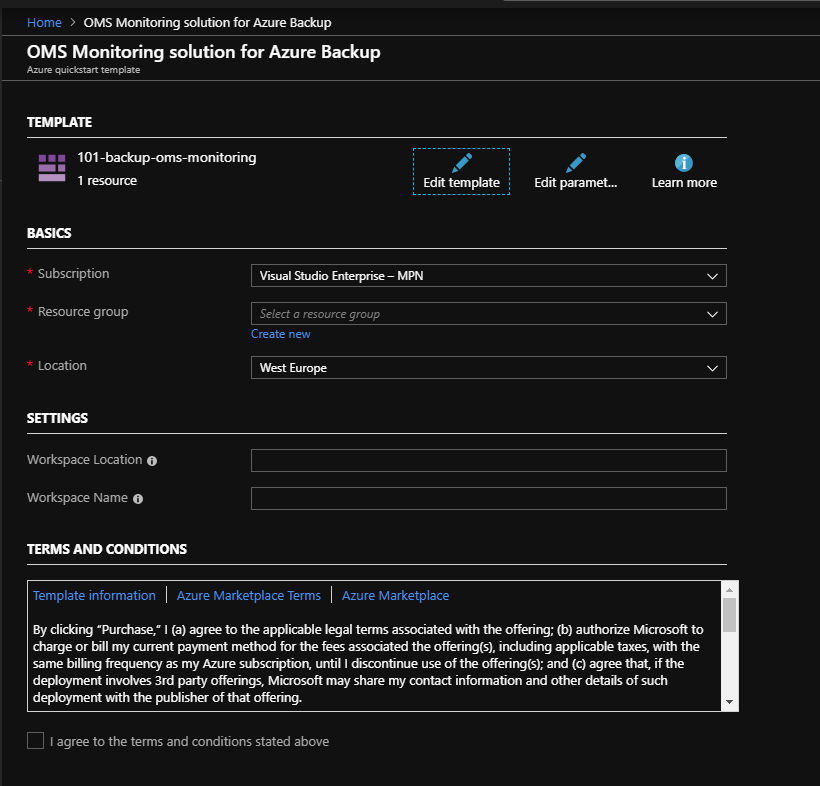
- After 24 hours we can setup the Azure Monitor space, click on this link for the Azure quick-start-template to configure the dashboard.
- You will need to specify the same resource group, the same workspace location to identify the excact workspace. Then you can deploy the workspace by clicking purchase at the bottom.
- Allow for some time to pass before login in to the Azure Monitor workspace, as i have seen it can take an hour before it populates anything.
How does it look
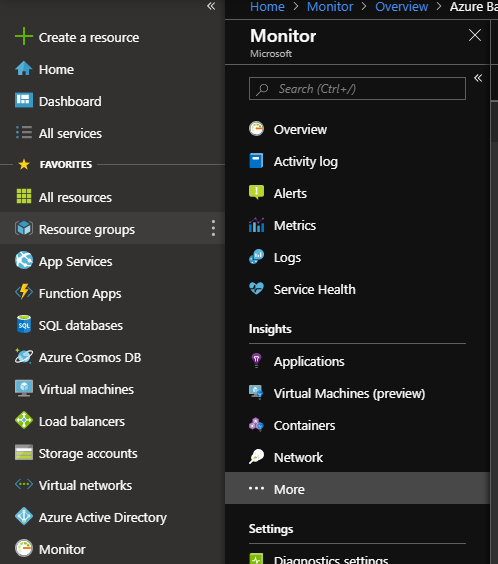
Go to Azure Monitor and click on More
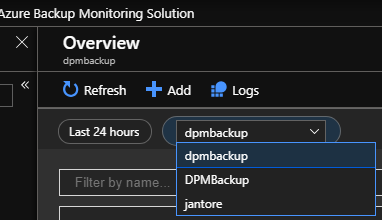
Choose the correct workspace.
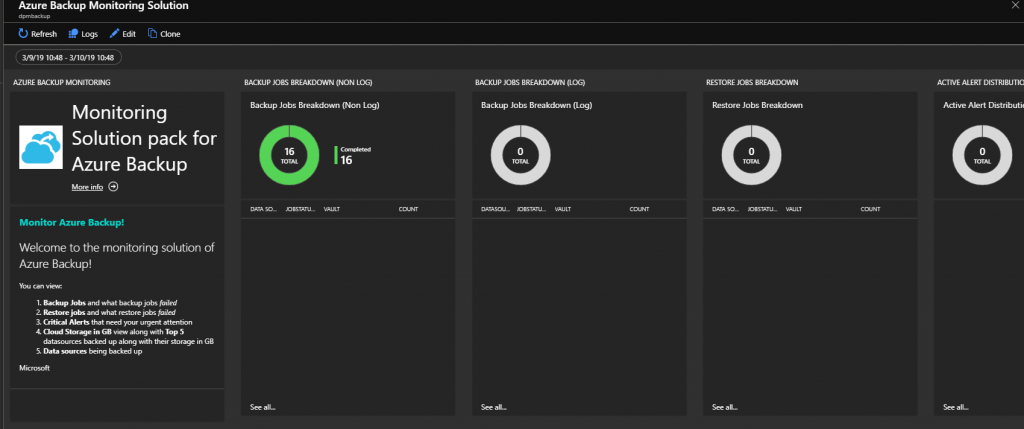
The first page we get is the overview
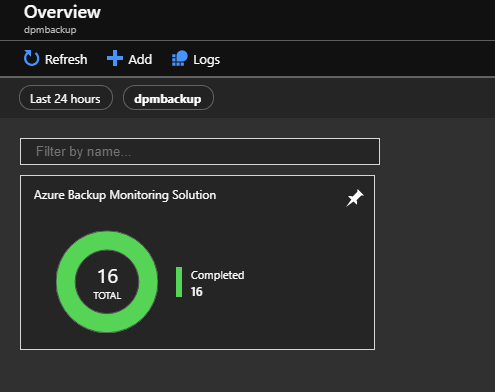
Let’s click on on it and see what we get. The inital page get’s a nice overview of your recent backup jobs, any restore jobs.
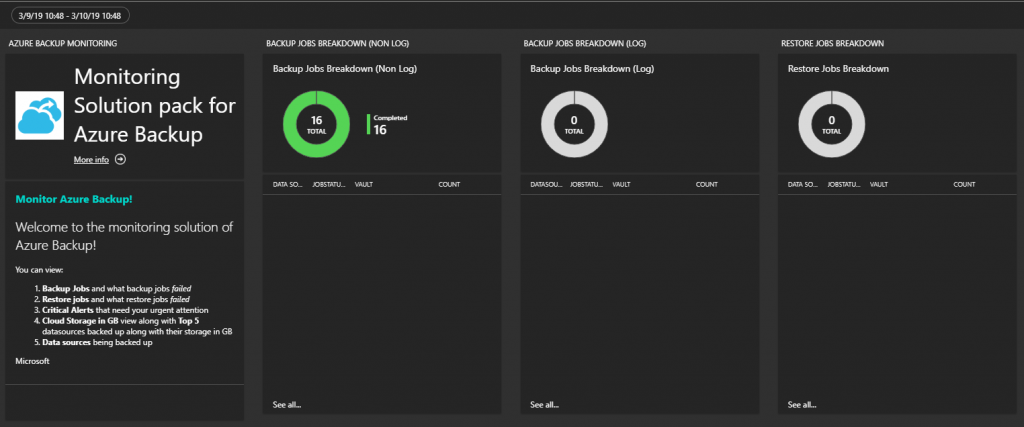
If there are any active alerts, the VM’s that where backed up, and the storage consumption in Azure.
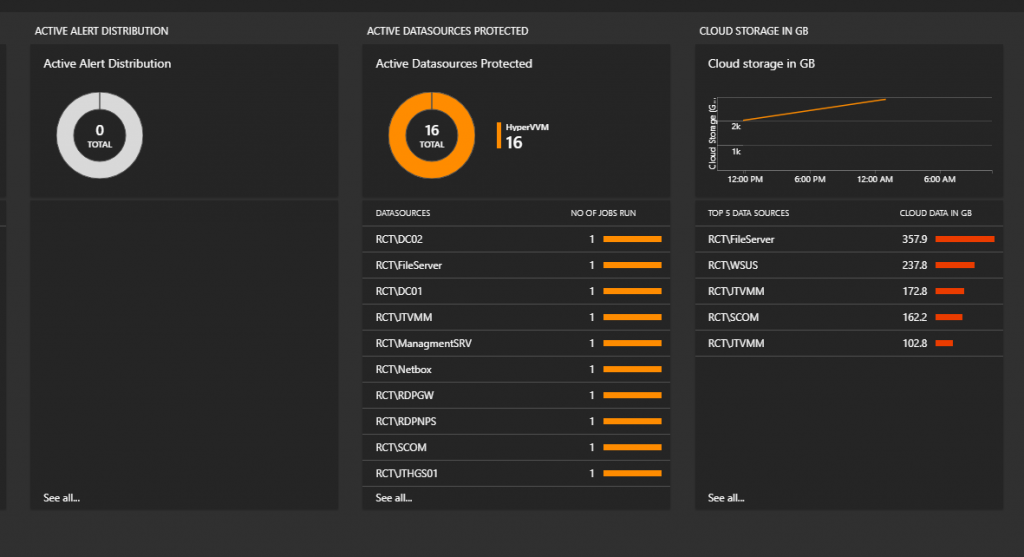
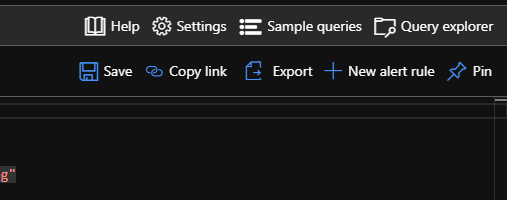
If we click down in one of the graphs will give us a better overview of each job. You can also create alerts by clicking on the new alert rule tab.
There also is a few other improvements to DPM 2019
- Support for new versions of SQL Server and Windows Server – DPM 2019 will support new releases like Windows Server 2019 and SQL Server 2017
- VMware to tape Backup – DPM will get support for backing up VMware VMs to tapes for long-term retention.
- Modern Backup Storage – DPM performance can increase your backup job’s with up to 75% speed increase with ReFS.
- There is more flexebility, if you loose your local DPM server you can now even restore from the Azure Backup Vault.